Application Description
Unlock the power of Google Chrome's built-in translation tools to effortlessly navigate multilingual websites! This guide provides a step-by-step walkthrough on how to translate entire web pages, selected text, and customize your translation settings for a seamless browsing experience.
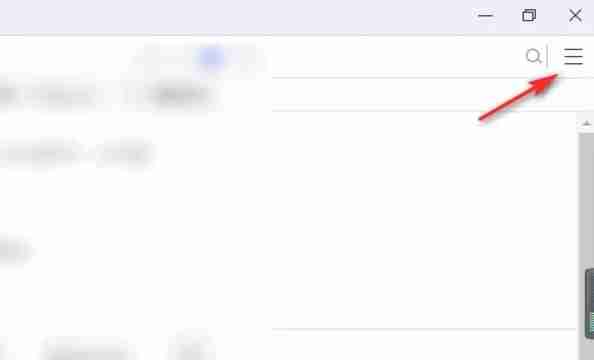
Step 1: Accessing the Settings Menu
Locate and click the Chrome menu icon (usually three vertical dots or three horizontal lines) in the upper right corner of your browser window.
Step 2: Opening Browser Settings
In the dropdown menu, select the "Settings" option. This will open your browser's settings page.

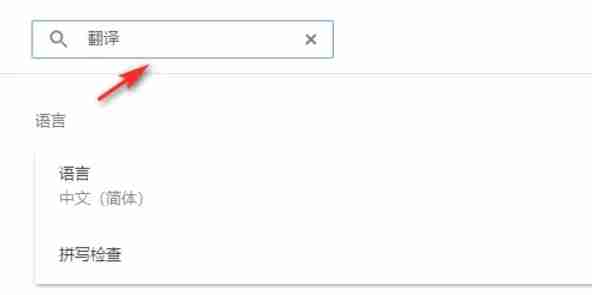
Step 3: Locating Translation Settings
At the top of the settings page, you'll find a search bar. Enter "Translate" or "Languages" to quickly find the relevant settings.
Step 4: Accessing Language Settings
Once the search results appear, locate and click the "Languages" or "Translation" option.
Step 5: Managing Languages
In the languages settings, you'll see a list of supported languages. You can add new languages, remove existing ones, or reorder them based on preference.

Step 6: Enabling Automatic Translation
Crucially, ensure the option to "Offer to translate pages that aren't in a language you read" is enabled. This will prompt Chrome to automatically offer translation when you visit a page in a language other than your default.
By following these simple steps, you'll unlock the full potential of Chrome's translation features and enjoy a more accessible and efficient online experience.
Casual


 Games like Fire Mod Menu