HomeNews"Asus ROG Ally: Connect to TV or Monitor Guide"
"Asus ROG Ally: Connect to TV or Monitor Guide"
Apr 12,2025Author: Evelyn
The ROG Ally made a splash in 2023, offering a compelling alternative to the Steam Deck, and its Windows operating system grants access to a broader array of games. Last year, the ROG Ally X hit the market, enhancing the internal components and improving comfort and cooling, making it even more appealing to gamers on the go.
While the ROG Ally shines with its portability, it's also a fantastic option for those looking to enjoy games on a larger screen, be it a TV or a gaming monitor. Both versions of the ROG Ally support connection to external displays, allowing you to immerse yourself in your favorite games on a bigger canvas. Below, we provide a detailed guide on how to connect your ROG Ally to a TV or monitor, complete with step-by-step instructions and recommendations to ensure you get the most out of your gaming experience.
How to Connect With an Adapter
Connecting your ROG Ally to a TV or monitor can be achieved through various methods, but using an adapter is a compact and straightforward solution. Whether you choose a small dongle-style adapter, a direct cable, or the official ROG Gaming Charger Dock, there are numerous options tailored to your preferences.
What You'll Need
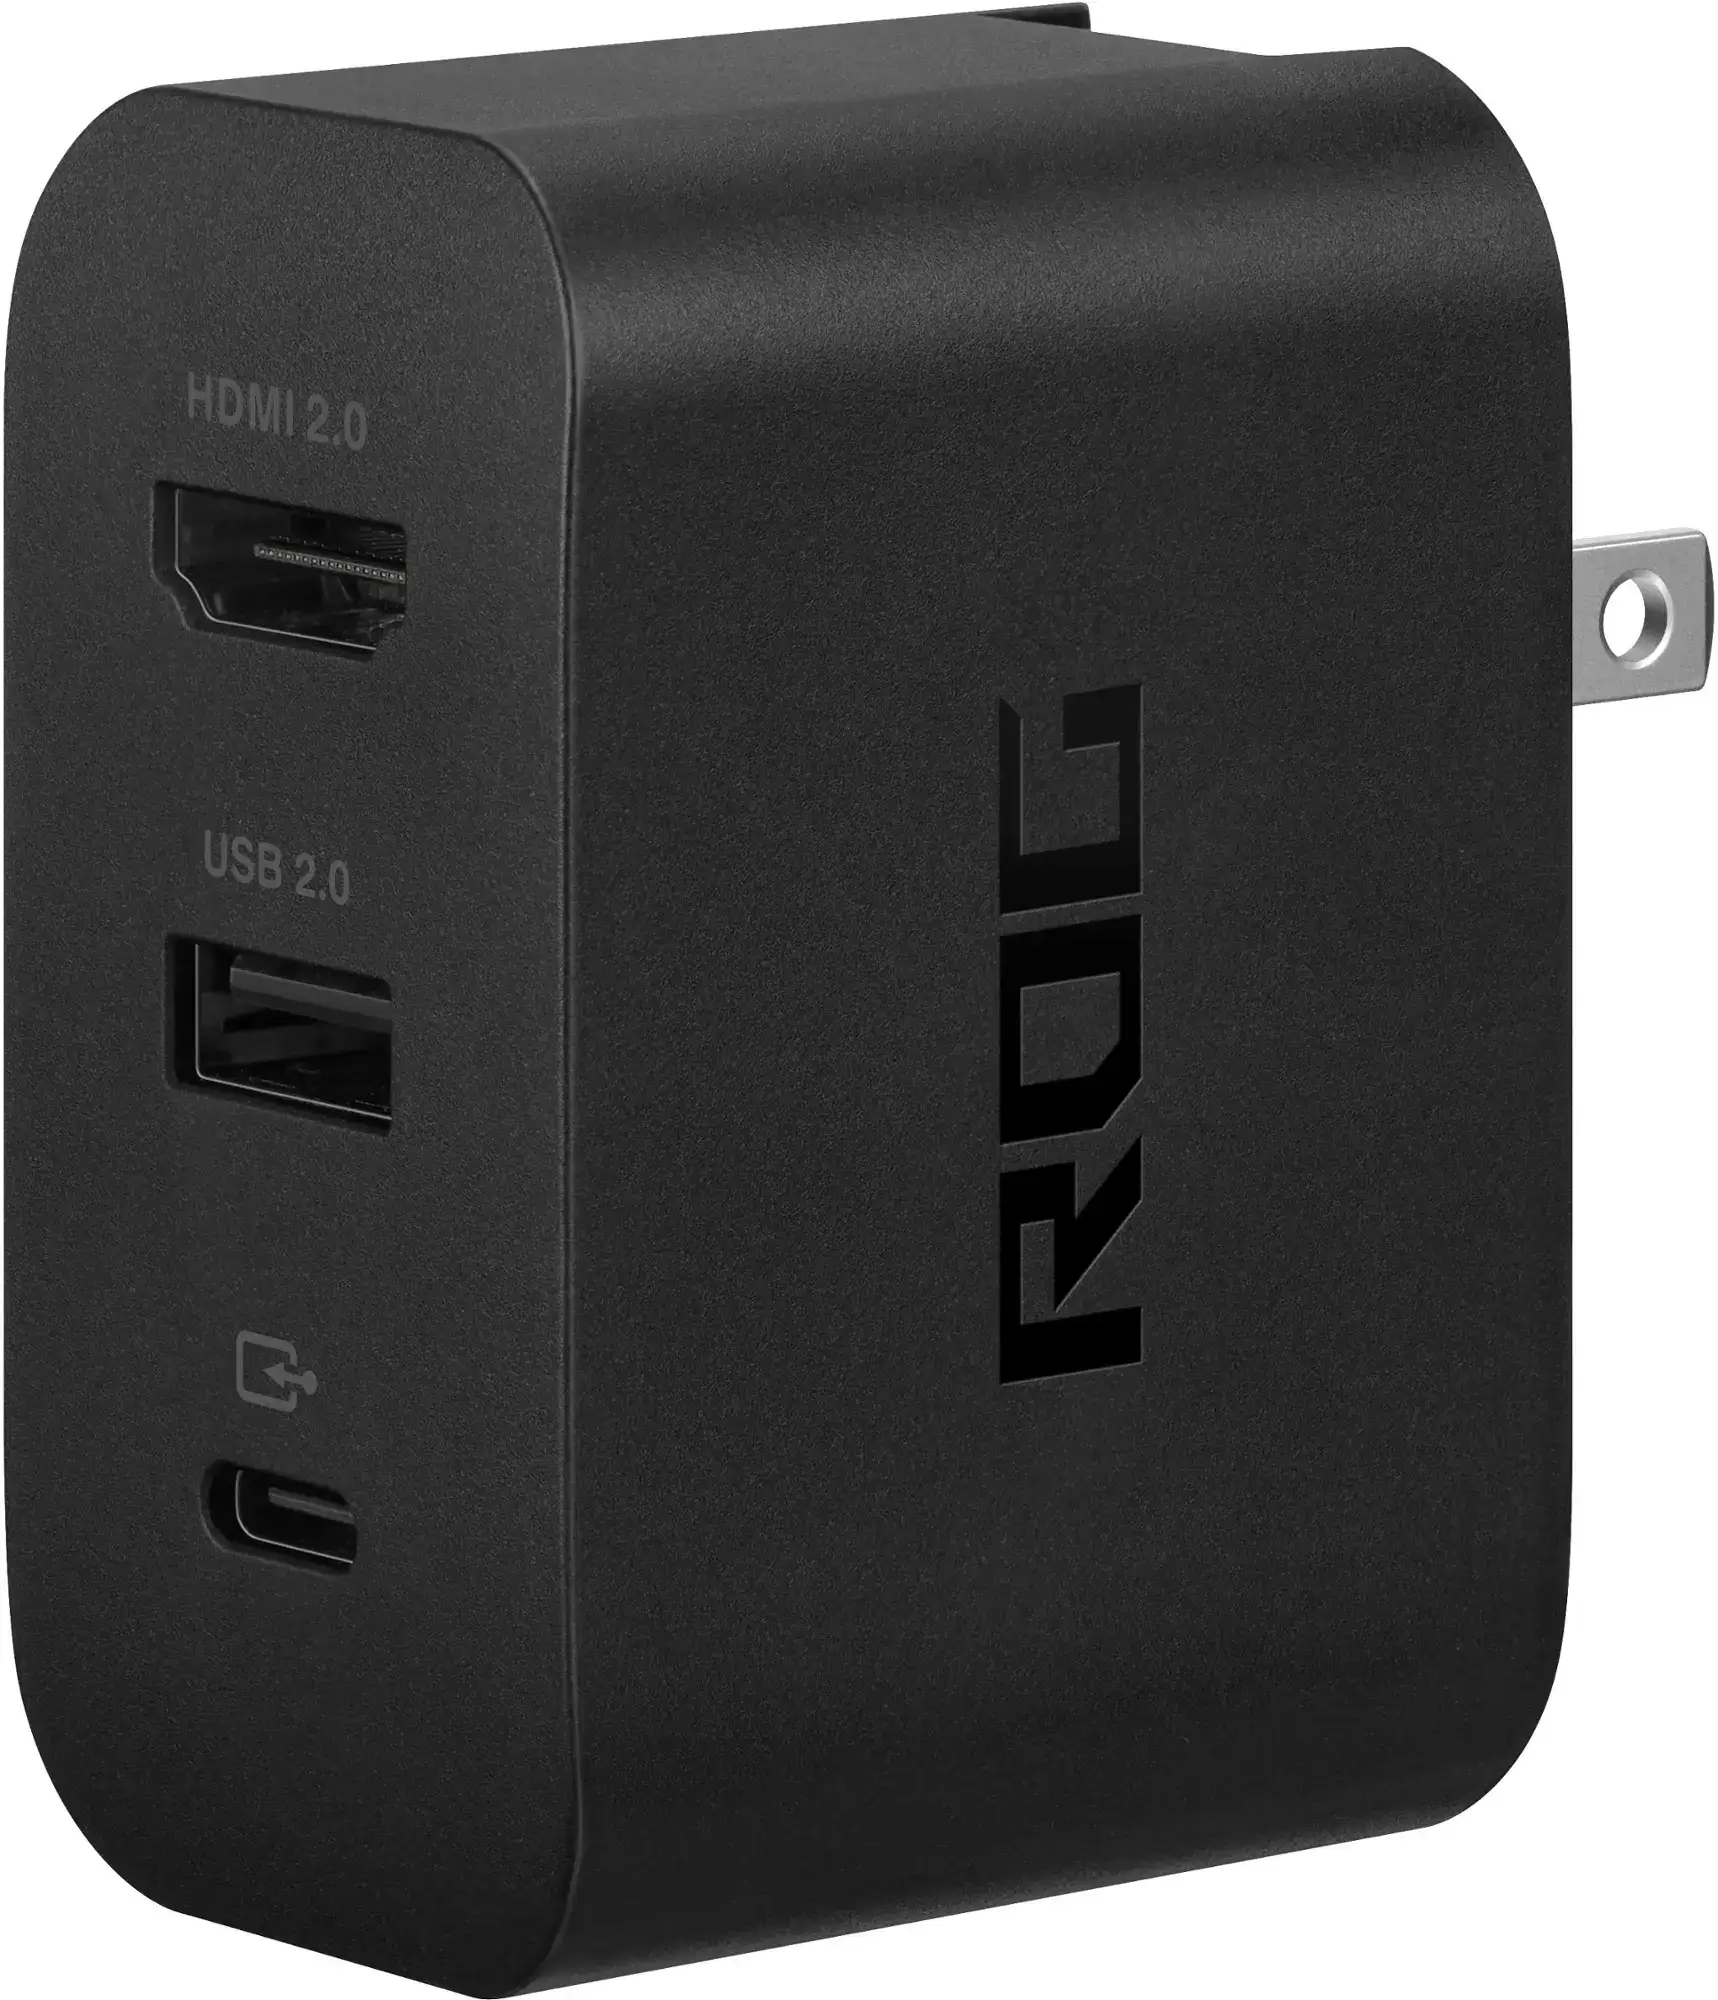
ASUS ROG 65W Charger Dock
Supports HDMI 2.0 with USB Type-A and USB Type-C for ROG Ally. See it at Best Buy.
ASUS has streamlined the process of connecting the ROG Ally to a TV, making it incredibly user-friendly. The most space-efficient adapter option is the official ROG Gaming Charger Dock, which also serves as a charger for your device. You'll simply need a USB-C and HDMI cable to get started. The Charger Dock also includes a USB-A port, perfect for connecting a mouse and/or keyboard.
Alternatively, you can use a third-party USB-C to HDMI adapter, directly plugging it into the ROG Ally's USB-C port. Then, connect an HDMI cable from the adapter to your TV or monitor. For a seamless one-cable solution, consider a USB-C to HDMI cable that connects directly from your ROG Ally to your display.
Some USB-C to HDMI adapters come with a passthrough USB-C port for charging your ROG Ally while it's connected. If your adapter has this feature, you'll also need an additional USB-C cable and your power adapter to keep the internal battery charged during gameplay.
How to Connect: Step-by-Step Instructions
Plug a USB-C to HDMI adapter (or cable) into the ROG Ally's USB-C port on the top of the enclosure. If using the ROG Gaming Charger Dock, connect one end of a USB-C cable to the ROG Ally's USB-C port and the other end to the USB-C charging port on the Charger Dock.
Connect an HDMI cable to the adapter (or Charger Dock) and plug the other end into an available HDMI port on your TV or monitor. If using a direct USB-C to HDMI cable, simply plug the HDMI end into your TV or monitor.
(Optional) If your USB-C adapter has a passthrough USB-C port for charging, connect your ROG Ally's power adapter to the passthrough port.
Power on the ROG Ally; it should automatically detect and output the video signal.
Switch your TV or monitor's input to the correct HDMI channel to view your ROG Ally's display.
How to Connect With a Docking Station
For a setup reminiscent of the Nintendo Switch, consider using a docking station. While the ROG Ally doesn't have an official docking station aside from the ROG Gaming Charging Dock, third-party options abound. These docking stations allow you to place the ROG Ally into a stand and connect it to your TV or monitor while simultaneously charging.
What You'll Need
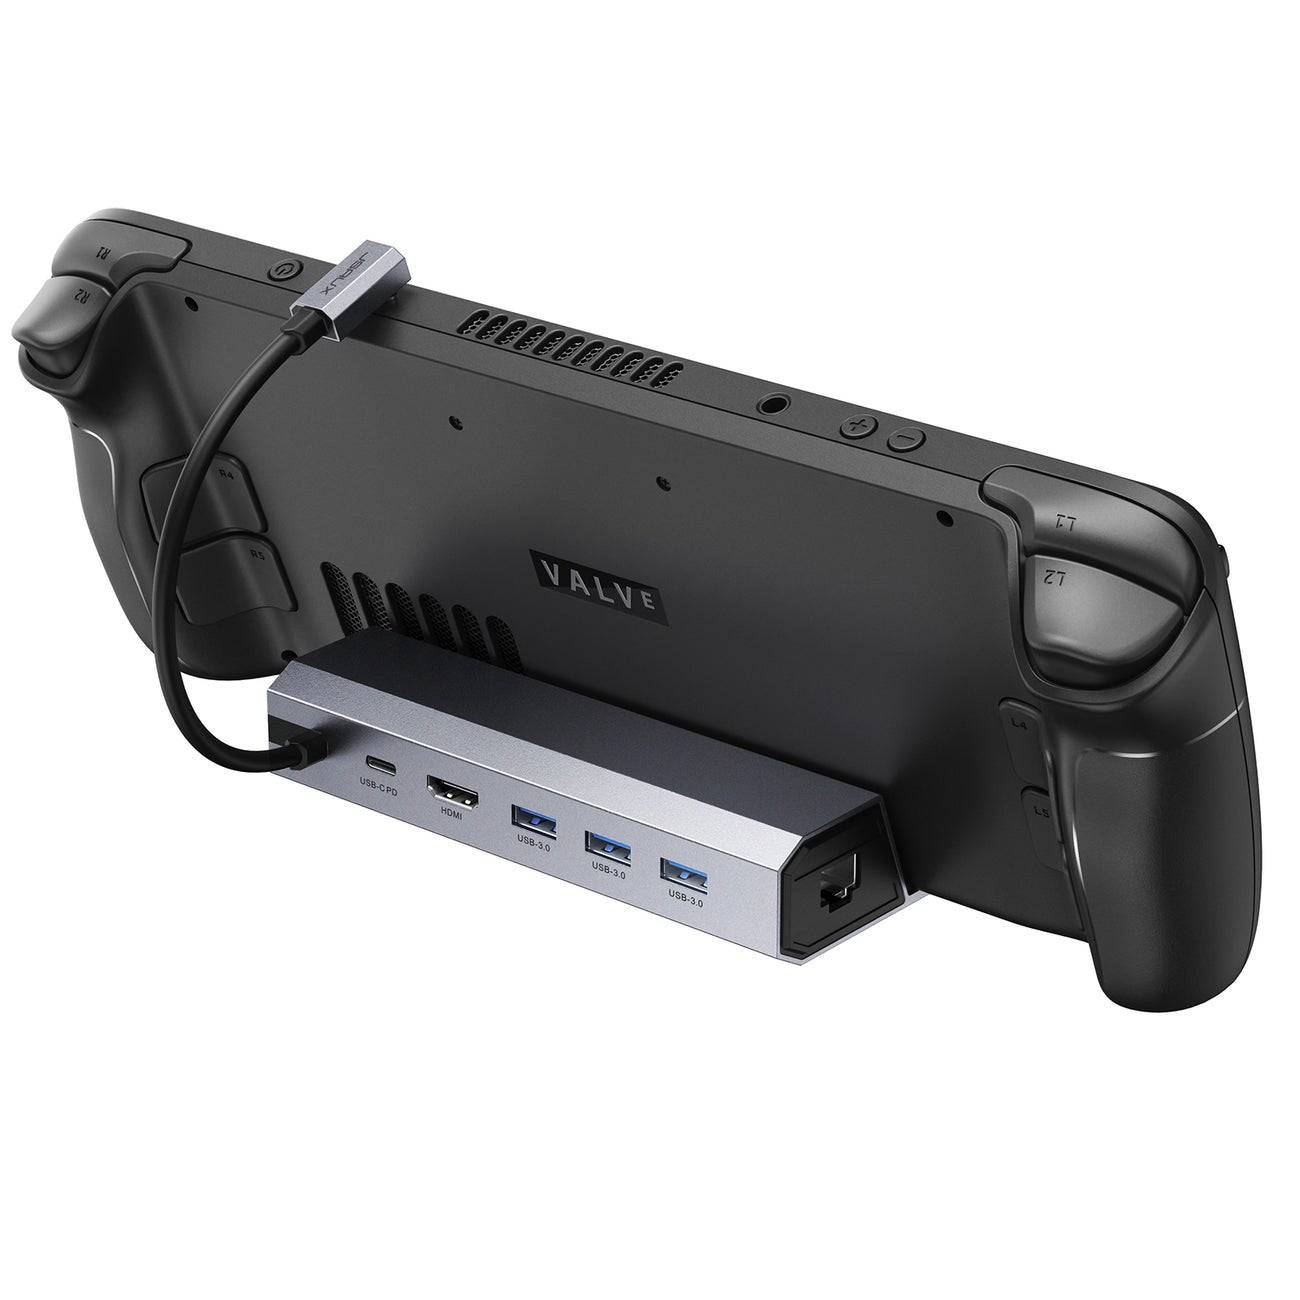
JSAUX Docking Station HB0603
2100 watts of power for fast charging and multiple ports come with this lightweight, compact dock that also serves as a stand. See it at Amazon.
Basic docks for the ROG Ally typically include an HDMI port and a USB-C passthrough charging port to power the unit while connected. For more advanced needs, there are docks with additional USB ports for peripherals like a mouse and keyboard, external hard drives, Ethernet ports for stable wired internet, SD card slots for expanded memory, and even Display Ports for additional screens. Smaller, portable docks are perfect for travel, allowing you to connect to larger displays on the go. Many docks designed for the Steam Deck are also compatible with the ROG Ally.
How to Connect: Step-by-Step Instructions
Place your ROG Ally into the dock.
Connect the USB-C power cord to the ROG Ally's USB-C port on the top of the enclosure.
Connect your ROG Ally's power adapter to the USB-C charging port on the dock.
Connect an HDMI cable to the HDMI port on the dock, with the other end plugged into an available HDMI port on your TV or monitor.
Power on the ROG Ally; it should automatically detect and output the video signal.
Switch your TV or monitor's input to the correct HDMI channel to view your ROG Ally's display.
You'll Also Need a Controller
While you can connect a mouse and keyboard to your chosen docking solution, a wireless controller often provides the most comfortable and enjoyable experience when playing on a larger display. The ROG Ally is compatible with any Bluetooth-enabled gaming controller. Below are our recommendations for the best controllers, which are also suitable for use with the ROG Ally:
Sony DualSense
See it at Amazon | See it at Best Buy | See it at Target
Xbox Elite Series 2 Controller
See it at Amazon | See it at Best Buy
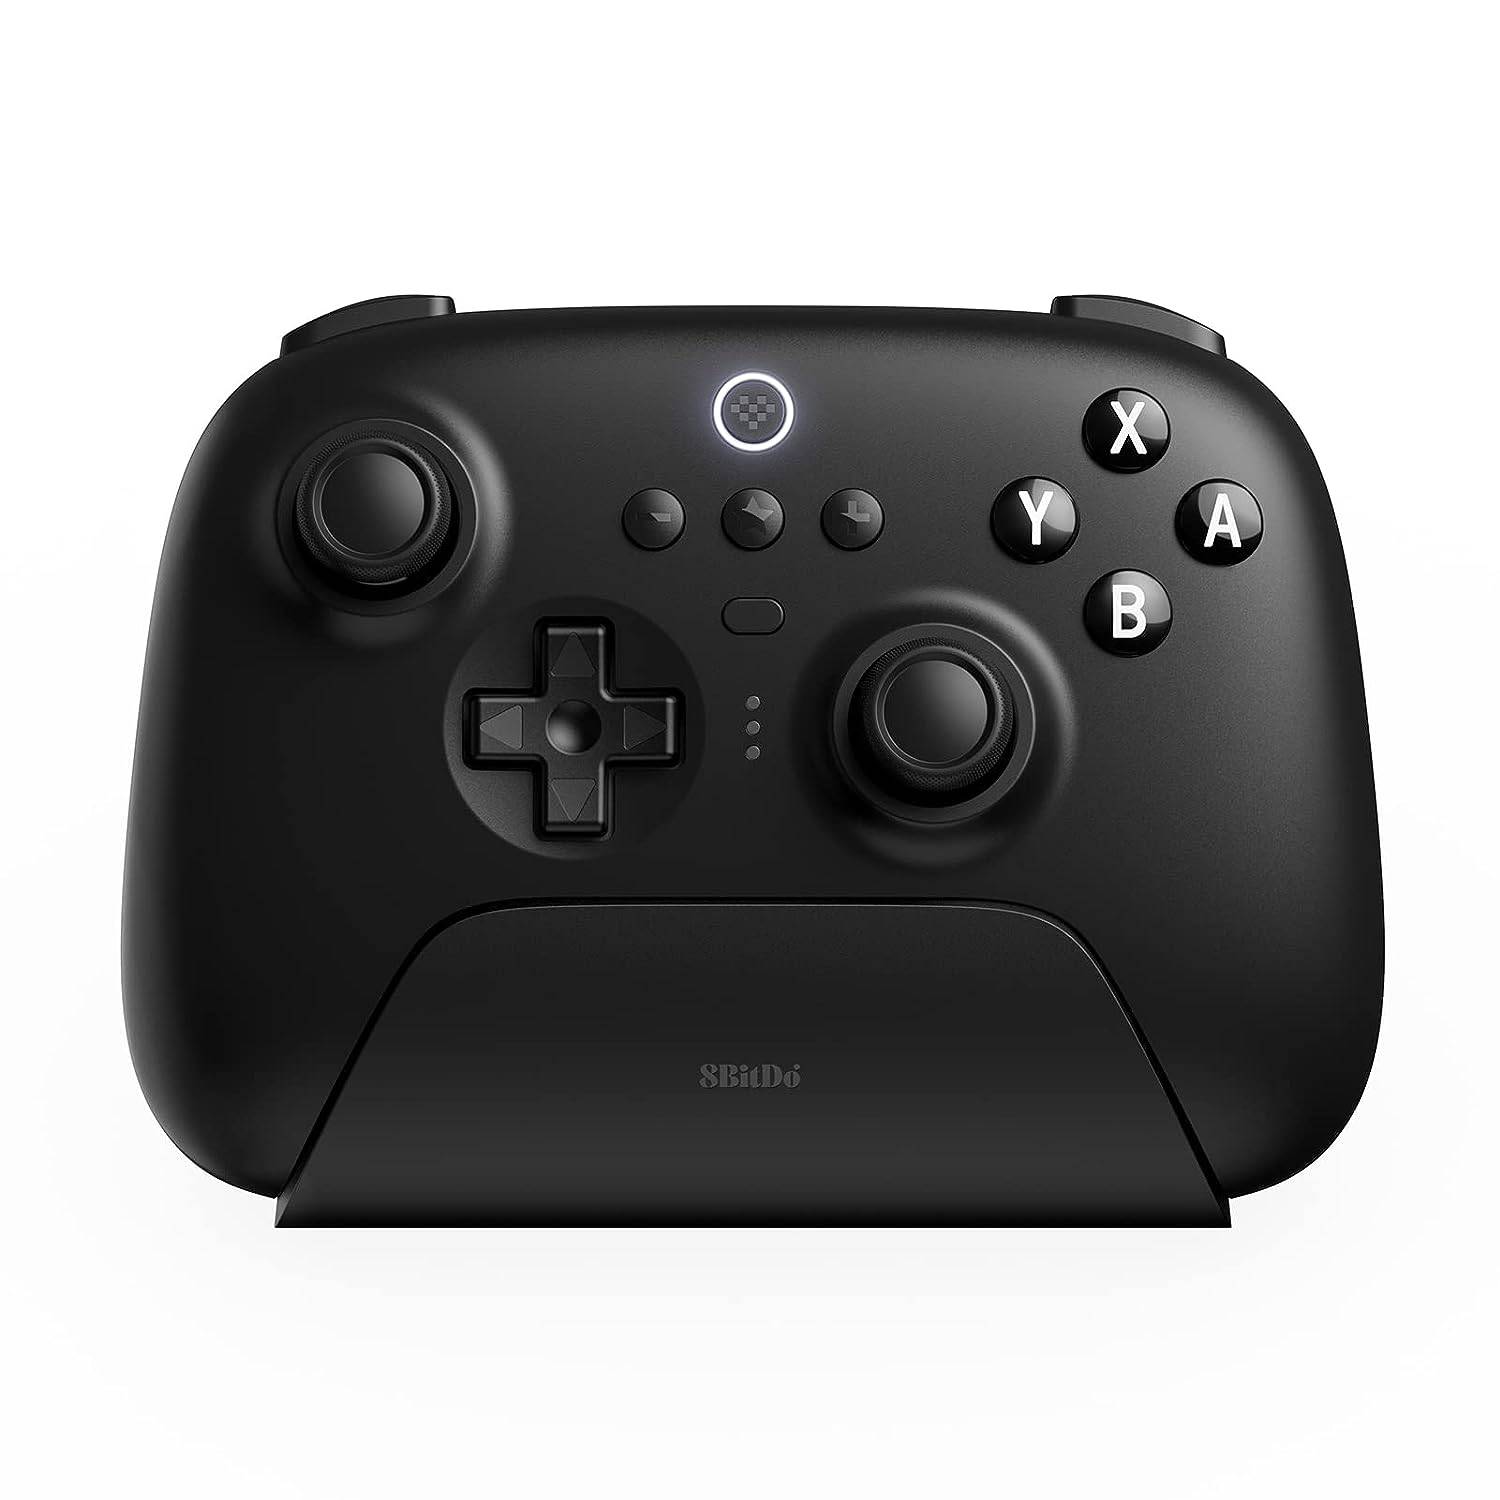
8BitDo Ultimate Controller
See it at Amazon
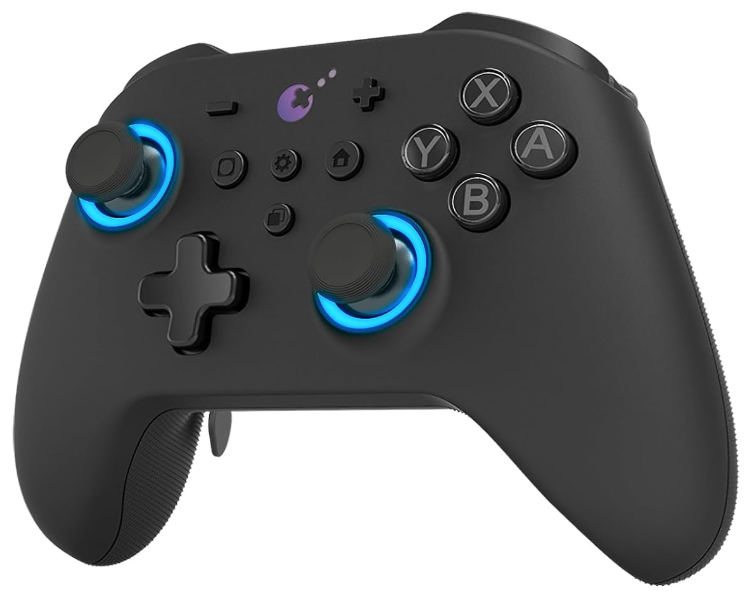
GuliKit KingKong 3 Max Controller
See it at Amazon
PowerA Wireless GameCube Style Controller
See it at Amazon
This includes first-party options like the PS5's DualSense, the Xbox Wireless Controller, or the Nintendo Switch Pro Controller, along with numerous third-party options. Some controllers utilize a 2.4GHz wireless connection with an included USB adapter, typically offering lower latency and better range than standard Bluetooth controllers. If you're close enough, you can also opt for a wired USB controller for a simple plug-and-play experience.
Moonlight Peaks arrives July 7th for Android devicesCultivate magical harvests while living as a young vampireRomance, enchanting townsfolk, and engaging side quests await in the valleyCozy life simulation games are everywhere these days. From farmin
We finally have a release date for Poppy Playtime: Chapter 5 — February 18, 2026. The game also has a subtitle, giving the full official title: Poppy Playtime: Chapter 5 — Broken Things. Based on the latest trailer, the name couldn’t be more fitting.
Square Enix recently hosted the NieR 15th Anniversary Livestream, unveiling a range of upcoming events and updates to mark the occasion. Read on to discover what’s next for the franchise and the new monthly developer blog for Re[in]carnation.NieR 15t
Stumble Guys is preparing to launch its inaugural wheelchair-using avatarThe character's creation was sparked by a recent visit from young enthusiast FayçalDesign elements draw inspiration from superhero aesthetics and competitive sports wheelchairsT


 LATEST ARTICLES